🩺 Hair Transplant Procedures: Step-by-Step Guide
📊 Executive Summary
Embarking on a journey to restore your hair is about more than just a procedure—it’s about reclaiming confidence. This Hair Transplant Procedures: Step-by-Step Guide is designed to walk you through the modern surgical experience with clarity and care. In this article, we’ll explore:
- Preparation Protocols: The essential steps we take before surgery to ensure your grafts thrive.
- The Surgical Workflow: A transparent look at what happens during Extraction, Channeling, and Implantation.
- Technique Comparison: A breakdown of Sapphire FUE vs. DHI so you can understand which suits your physiology.
- Recovery Timeline: A realistic guide on what to expect from the moment you leave the clinic to your final results.
Read on to navigate your transformation with confidence, knowing exactly what is happening behind the clinic doors.
Deciding to restore your hair is a significant moment. It blends medical science with your personal aesthetic goals. However, for many patients, anxiety stems simply from the unknown. You might be wondering, “What actually happens during those hours in the chair?”
Our goal with this Hair Transplant Procedures: Step-by-Step Guide is to demystify the entire process. We believe that an informed patient is a calm, confident patient.
At WMedTour, transparency is our foundation. Whether you are just browsing our skin and hair department to weigh your options or you have already booked your flight, understanding the workflow is vital. Modern techniques have evolved drastically; the invasive, uncomfortable surgeries of the past are history. Today, we utilize minimally invasive technologies that prioritize your comfort and ensure natural, undetectable results.
🔬 Phase 1: Pre-Procedure Consultation & Planning
Your journey begins long before the surgery day. Success relies heavily on meticulous planning—you can’t build a house without a blueprint, and you can’t restore a hairline without a design.
1. Medical Evaluation (Safety First)
Your safety is our top priority. We start with a comprehensive review of your medical history, often through a convenient telemedicine consultation. We assess photos, discuss your goals, and check for any contraindications, such as unchecked high blood pressure or blood-clotting disorders, to ensure you are a perfect candidate.
2. Hairline Design (The Art Session)
This is where medical skill meets artistic vision. On the day of surgery, your surgeon will draw your new hairline directly on your scalp. They carefully follow your natural facial muscles to ensure the line looks authentic when you smile, frown, or raise your eyebrows. This is a collaborative step; we don’t proceed until you are happy with the shape.
3. Blood Tests
To ensure everything goes smoothly, we conduct standard blood tests before the procedure. These check for infectious diseases and confirm your blood count is safe for minor surgery. Our checkup department handles these protocols quickly and efficiently.
🛠️ Phase 2: The Surgical Steps (The Core)
This section details the heart of the Hair Transplant Procedures: Step-by-Step Guide. While every patient is unique, most modern surgeries follow this logical, safe flow.
Step 1: Preparation and Comfort
Once you’ve approved your hairline design, the team prepares the donor area. In most FUE cases, this involves shaving the back of the head. We then apply local anesthesia. To maximize your comfort, modern clinics utilize jet-injection devices that deliver anesthetic without needles, reducing pain sensation by up to 70%.
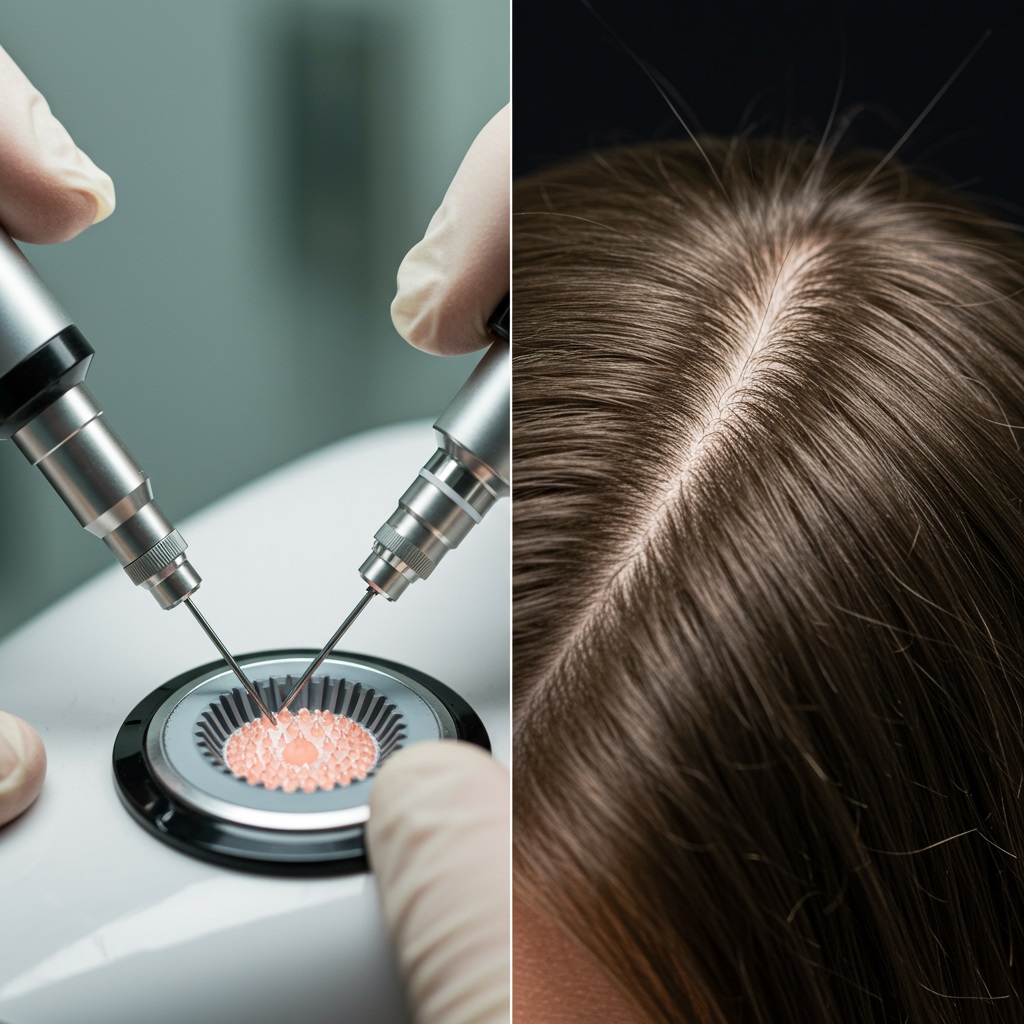
Step 2: Graft Extraction (Harvesting)
This is a delicate phase where the surgeon acts with extreme precision. Using a micro-motor punch (typically 0.7mm to 0.9mm), they isolate individual follicular units.
- Precision: The punch must align perfectly with the angle of your hair to avoid damaging the root.
- Preservation: As soon as grafts are extracted, they are placed in a chilled Hyposol solution. This keeps the cells alive and healthy while they are outside the body.
Step 3: Canal Opening (Creating the Canvas)
Note: This step is specific to the FUE technique. In DHI, this is combined with implantation.
Here, the surgeon creates tiny incisions in the recipient area. This is arguably the most critical step for aesthetics—the angle, depth, and density of these channels dictate your final look. We use Sapphire blades, which allow for finer, cleaner cuts compared to traditional steel, resulting in less trauma and faster healing.
Step 4: Implantation
Finally, technicians or the surgeon meticulously place the harvested grafts into the opened channels. Speed and gentleness are key here. The goal is to minimize the time the follicles spend out of the body to ensure the highest possible survival rates.
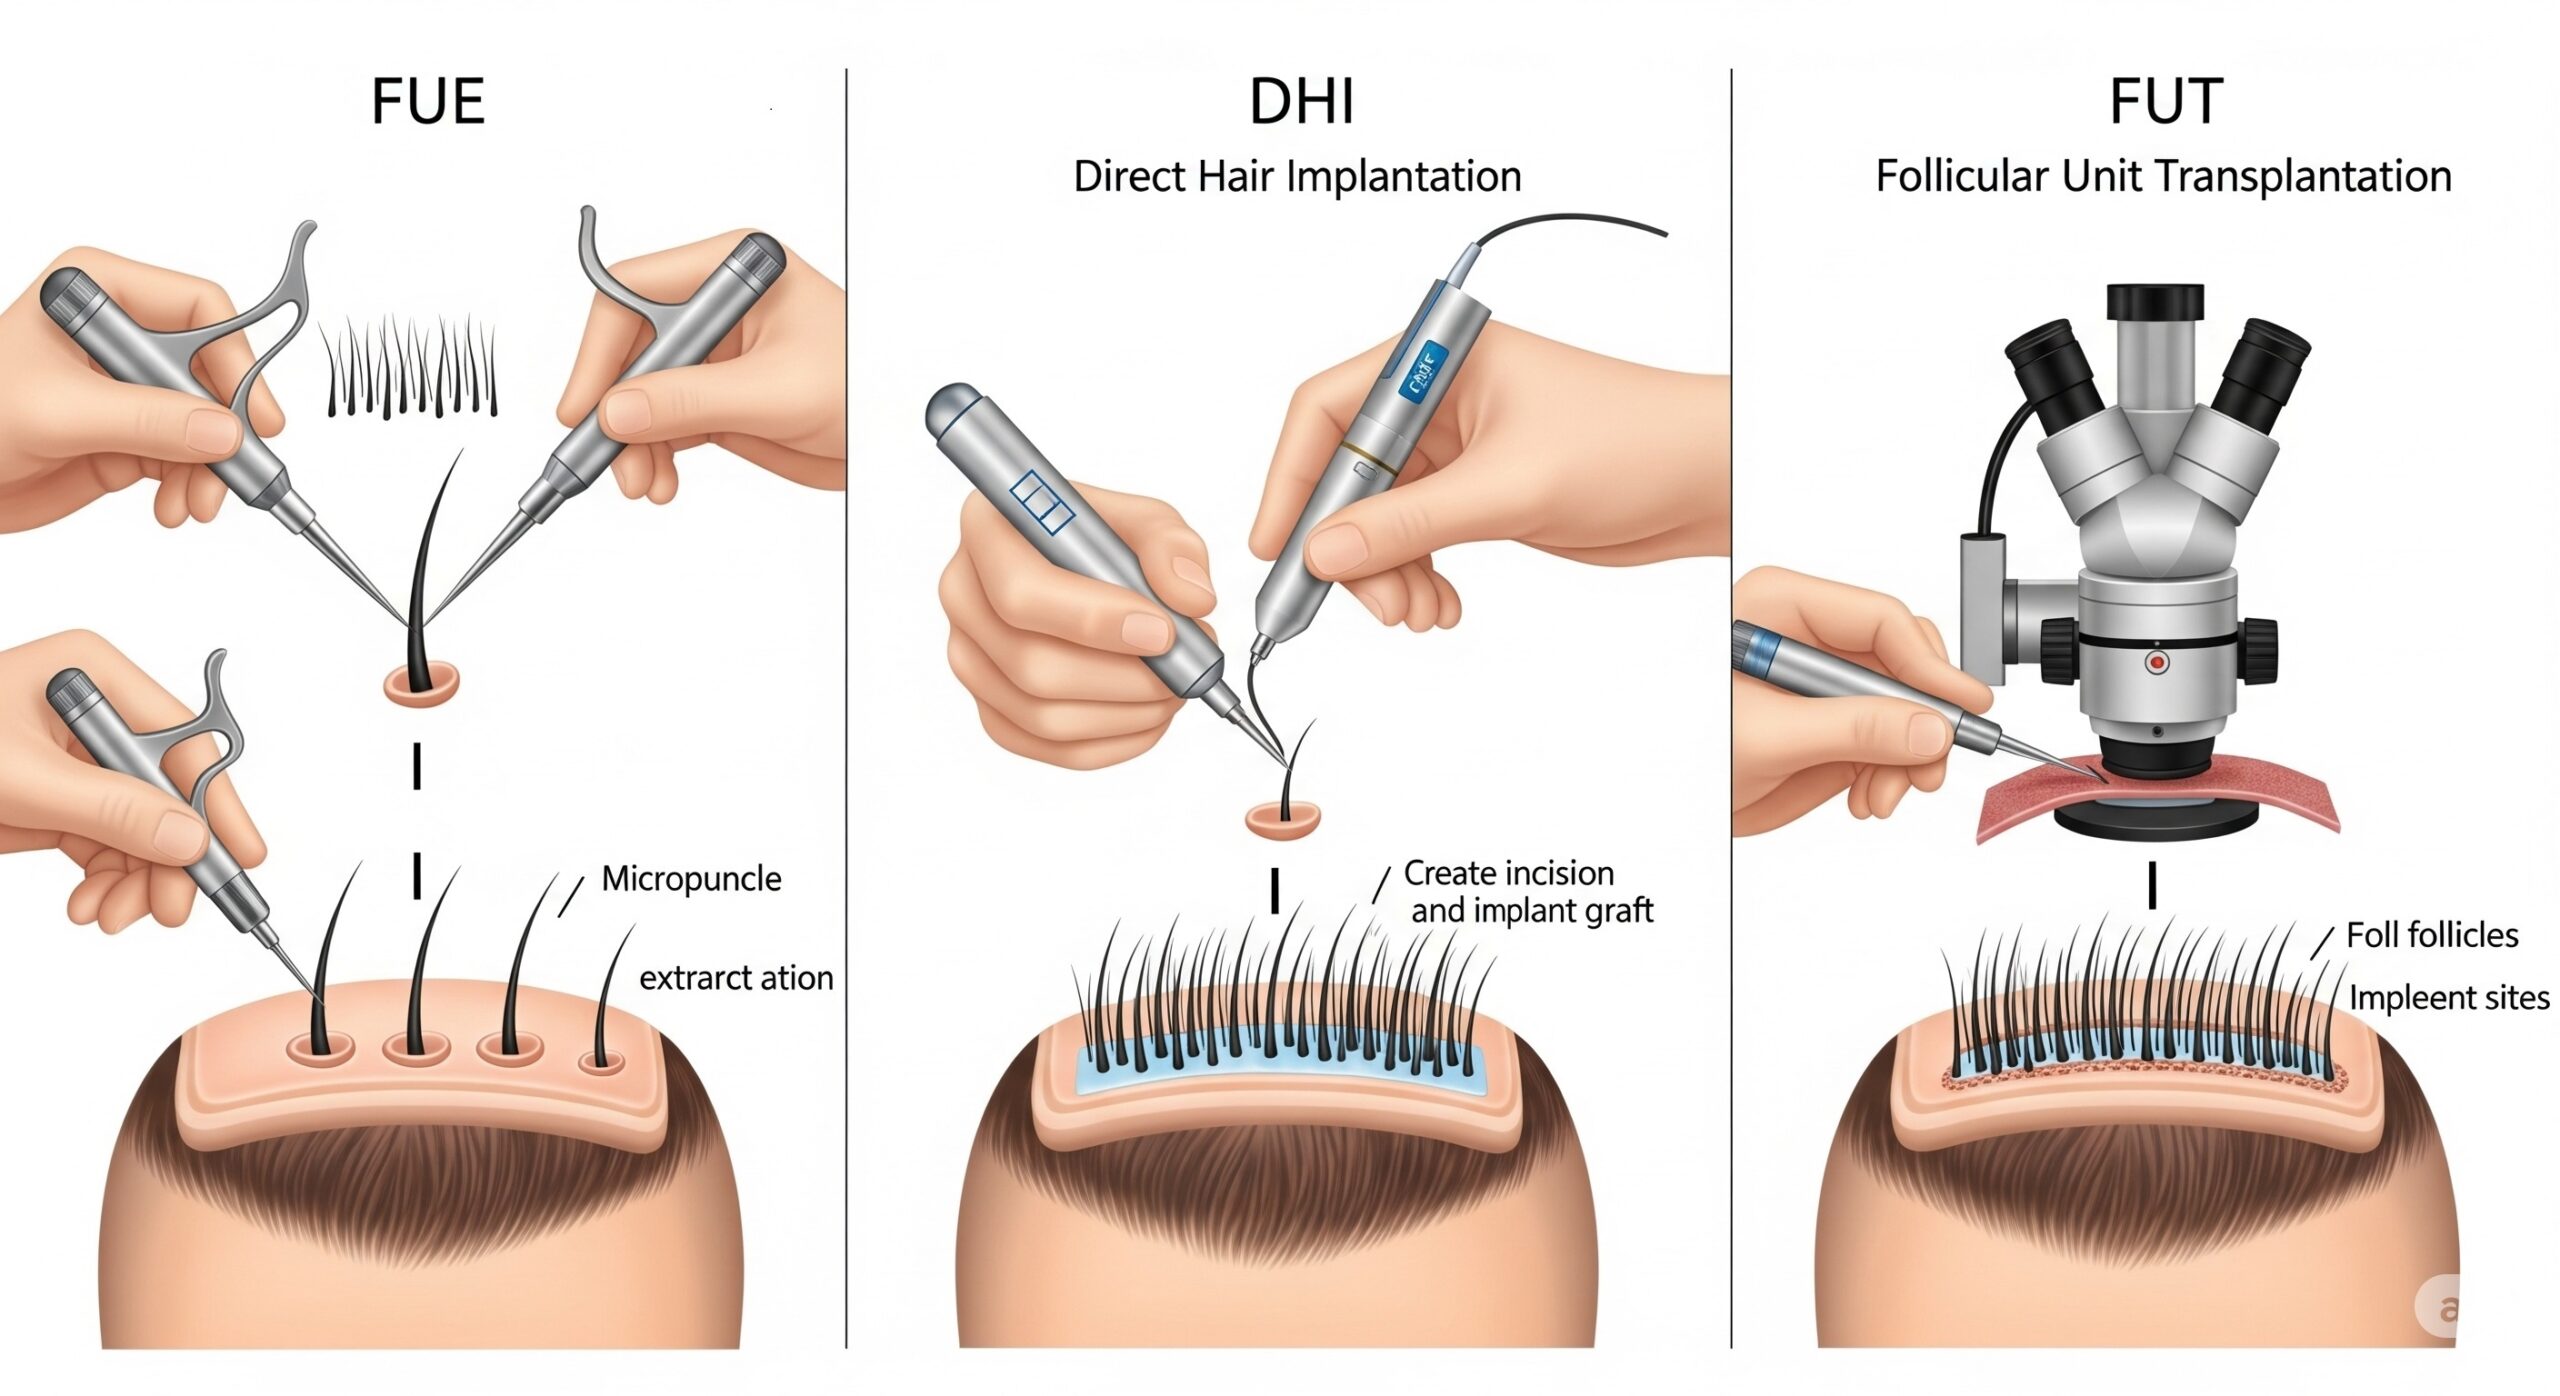
⚖️ Technique Breakdown: FUE vs. DHI
Choosing the right method is a common question in any Hair Transplant Procedures: Step-by-Step Guide. Here is how they compare.
Sapphire FUE (Follicular Unit Extraction)
FUE is currently the most widely used technique globally. In this method, the surgeon opens channels in the recipient area using sapphire or steel blades *before* placing the hair. Following this, they manually insert each graft into these tiny incisions. Although this process takes several hours, it is the gold standard for high-volume coverage. If you need extensive restoration, FUE is often the most efficient choice. You can learn more about this at skin and hair centers globally.
Pros:
- High Coverage: Ideal for patients requiring 4,000+ grafts.
- Cost-Effective: Generally more affordable than DHI.
- Efficiency: Can cover large bald patches in a single session.
Cons:
- Shaving: Typically requires shaving the entire head.
- Bleeding: Slightly more bleeding due to pre-opened channels.
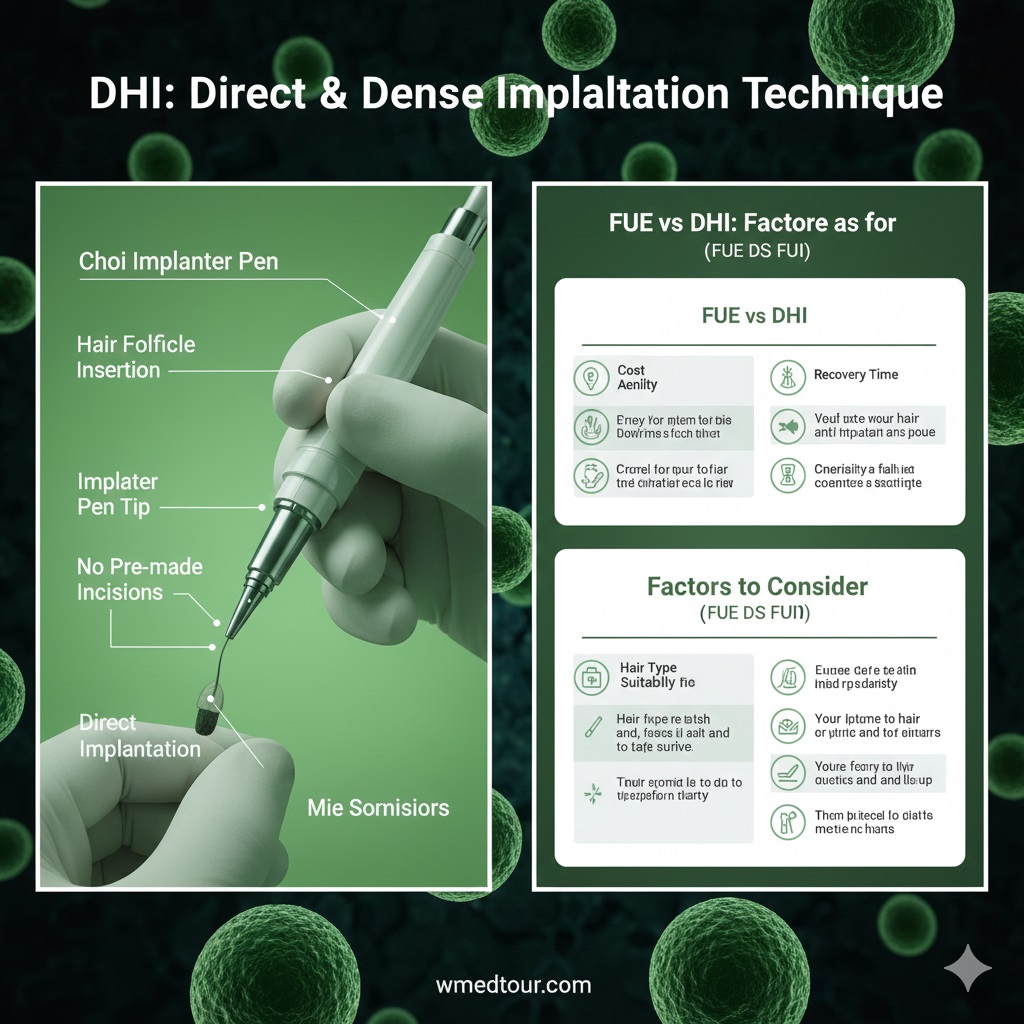
DHI (Direct Hair Implantation)
In contrast to FUE, the DHI method utilizes a tool called the Choi Implanter Pen. This sophisticated device allows the surgeon to perform the incision and implantation simultaneously. Because the pen controls depth and direction so strictly, the results are incredibly precise. Furthermore, DHI often eliminates the need for a full shave. Consequently, this technique is very popular among women and professionals who wish to return to work quickly without a drastic change in hairstyle.
Pros:
- Density: Allows for higher density placement between existing hairs.
- No Shave: Excellent for patients who want to keep their hair long.
- Control: The CHOI pen offers precise control over the angle of growth.
Cons:
- Time-Consuming: The procedure takes longer to perform.
- Graft Limit: Usually limited to 2,500-3,000 grafts per session.
📊 At a Glance: Comparison Table
| Metric | Sapphire FUE | DHI Method | Robotic FUE |
|---|---|---|---|
| Ideal Candidate | Norwood Scale 4-7 | Norwood Scale 2-3 / Women | Tech-focused patients |
| Invasiveness | Low | Very Low | Low |
| Recovery Time | 7-10 Days | 5-7 Days | 7-10 Days |
| Scarring Risk | Micro-scars (invisible) | Minimal | Micro-scars |
👥 Is This Procedure Right for You?
Not everyone needs a full restoration. This procedure is best suited for individuals who have identified stable hair loss patterns. You might be a professional looking to regain a youthful edge, or someone looking to correct a receding hairline that runs in the family.
Consulting our doctors is the best way to confirm suitability. Generally, candidates must have a healthy donor supply at the back of the head. It is important to note that conditions like Alopecia Areata may require different treatments, such as mesotherapy or corticosteroids, rather than transplantation.
🗺️ The Patient Roadmap: From Inquiry to Growth
We structure your experience to be as seamless and stress-free as possible. Here is what